Hard Chrome Plating vs Decorative Chrome Plating

Decorative or Hard Chrome Plating?

You know chrome by that shiny protective coating in a variety of decor and other applications, but do you know the difference between hard chrome plating vs decorative chrome plating? Each has its own distinct differents and benefits, which we’ll get into right now.

Hard Chrome Plating

  • Hard chrome plating is done by adding a chromium layer to the metal and then submerging that into a chromic acid solution. This is done without altering the metal and increases the wear resistance while raising the corrosion resistance of the metal. Other benefit include:
  • Extreme hardness of the plating, giving it the ability to endure high stress in industrial applications. This is the choice for things like engine parts and factory tools where you need strength and durability.
  • Wonderful adhesion, gives durability and an adherence that has a lower risk of flaking. Hard plating is long-wearing on the metal more than decorative plating.
  • Lowered friction, plating with hard chrome gives the item less friction when it comes in contact with graphites, carbons, polymers and other metals. This is paramount on items where friction must be kept to a mininum.
  • Thickness, giving the ability to apply between 10 and 500 micrometers of thickness to the plating, it can withstand corrosive chemicals and give resistance to abrasion over time.
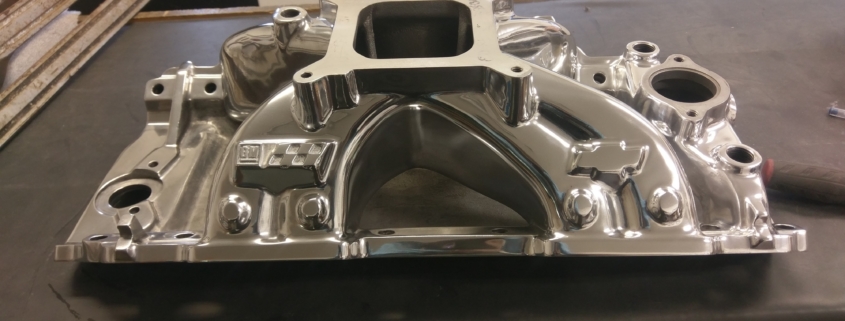
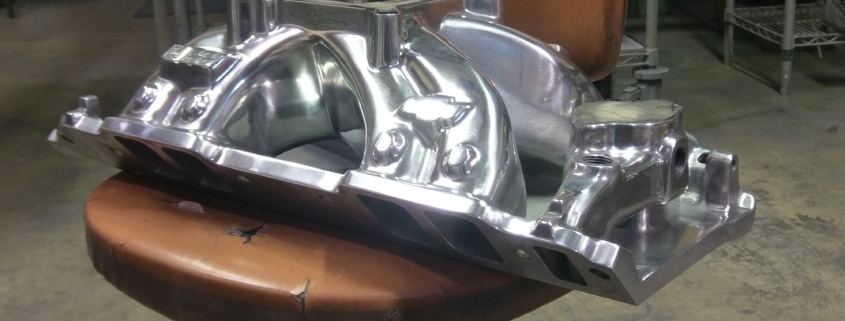
  • Some applications suited for hard chrome plating include automotive piston rings, pump rotors and shafts, valves, gates, compressors, lathes, mechanical parts, agricultural equipment, and molds and dies.

Decorative Chrome Plating

Decorative chrome plating is done the same way as hard chrome plating, but the thickness is lessened as it doesn’t need to hold up to industrial hardships. Decorative plating has the following advantages:

  • Nicer appearance, giving a smooth sleek shine to the object.  This can give a perceived value when used in retail objects. If the item states “chrome-plated”, it’s going to be decorative.
  • Easy to clean, as it will not trap dirt and dust. This type of chrome plating is easy to clean with a variety of household cleaners and is good for most household applications.
  • Wear resistance, while not as much as hard plating, it does give some increase of strength and wear resistance.

Some applications suited for decorative chrome plating include tools like wrenches and pliers, hardware like hex keys, decorative car parts like trim and door handles, musical hardware, and kitchen utensils like cutlery. Decorative plating, just like its name, is done for decorating more than function.


Despite their same manufacturing process, these two different forms of chrome plating vary by function and form. Your best bet on plating will be determined by what you want the end result to be. This overview of the benefits of each and their differences can help you determine which is best for you.

Guide to the chrome plating process

Guide to the chrome plating process

Chrome plating is not only time-consuming; it is expensive. However, when the job is complete, and the car looks as awesome as it did in the 1950s, it’s well worth the effort.

There are two types of chrome plating they include:

  • Hard chrome plating
  • Thin dense chrome plating

Hard chrome plating is used a lot more often than thin dense chrome plating. It is used on exterior items such as car bumpers.

Thin dense chrome plating is primarily used on interior surfaces. The layer that is applied is so thin it cannot cover large cracks and crevasse.

Hard Chrome Plating Steps

  1. Inspection – This is probably the most essential step. If the piece of metal has deteriorated beyond repair, you need to seriously think about whether it is worth repairing or purchasing a new one might be the best option. Assuming it is repairable, we will move on to the next step in the chrome plating process.
  2. Stripping –All materials must be removed from the metal, including the following:
  • Old paint
  • Oil
  • Dirt
  • Previous plating
  • Rust
  • Grease

If you attempt to start the chrome plating process before removing all the old material, you will have several bumps and blemishes, and you will ruin the metal. Don’t skip hard chrome plating process steps to save time or money.

  1. Repair and Restore – Fill any cracks, crevasse, or holes with brass or lead. Remove any dents or straighten them out so you can move on to the next step,
  2. Polish – The end goal of polishing is to have a piece of extremely polished metal. When you polish, you remove the metal on the surface. This is done by using different coarse wheels or belts. This is the first step in eliminating abrasive areas by cutting and grinding. Which makes the abrasive metal smoother with smaller grinds. When completed, you have an extremely polished piece of metal that is mostly free of scratches, pitting, and other blemishes.
  3. Racking and Wiring – Racks, hooks, and other techniques are used to hold the part and supply electrical contact.
  4. Prep & Cleaning – The parts must be impeccably cleaned before you can start plating. Even the tiniest fleck of dirt will produce a reject. Soap, water, and acid solutions will ensure a pristine surface.
  5. Copper Plating and Buffing – The copper plated parts are buffed to a dazzling shine. This delivers additional protection while helping fill pits and lines.
  6. Recleaning, Racking, and Wiring – Repeat steps five and six.
  7. Nickel Plating – Nickel gives it the rich polish and protection necessary for long-lasting chrome. The parts are then immersed in a nickel-plating mixture for 45 minutes to an hour.
  8. Chrome Plating – The chrome acts as a protective layer for the nickel. Preventing the nickel from tarnishing.
  9. Inspection – A final inspection is performed to make sure parts are clean and ready.

Once you have completed the exhausting hard chrome plating process steps, you will be left with a beautiful shiny chrome plating.

How to Prepare Your Car for Painting

How to Prepare Your Car for Painting

Painting your car is not always an easy task. You must first learn how to prepare your car for painting. You can always look at a DIY Guide to Painting Metal before you get started.

The secret to a great paint job is all in the preparation. Keep in mind it is also a very time-consuming task, and it isn’t cheap to paint your car, so you want to get it right the first time.

Remove the Rust

Cars in the colder climate states tend to have a lot more rust than the warmer states. When the cars’ metal is exposed to water (snow), salt, and sand from the roads, the rusting process is sped up, and it is impossible to stop. You might want to check a DIY Guide to Painting Metal to see if there is anything that tells you how to add extra protection against rust.

There are a few ways to remove the rust, including the following:

  • If you have an extensive rust area, you may be better off completely remove and replace that sheet metal panel. You can find instructions on how to do this in a professional guide on how to prepare your car for painting.
  • You can use rust removers from an auto store. If the rust is minimal, get a liquid rust inhibitor. This process can take up to 12 hours to work because the rust will turn into iron phosphate, which will turn the area completely black.
  • Sand the rust off if it is a small area.

Once that is completed, if you replaced any panels or parts of panels, you need to make sure they are perfectly straight and fill in any gaps with liquid filler from the auto store. Then they must be sanded to remove any imperfections.

Prime the Car

Just like the walls inside your house, before you paint them, they need to be primed.

Now that we’ve completed the rust removal, metalwork, and gotten the body straight with filler and many hours of sanding, we’re ready for paint. Once you prime the car, it must dry and be blocked (sanded) again. This will provide a nice smooth surface to be painted.

Priming the car before it is painted serves two purposes, one, you will have a consistent and smooth surface for the paint to bond to. So, you can avoid variations in color when you paint your car.

Selecting Your Paint

You have to choices – single stage paint and base/clear paint. With the single paint, you paint once, and you are done. Remember to tape your car before you start painting.

Base/clear paint is a two-step process. First, you paint your car after it dries. Check a how to prepare your car for painting or a DIY Guide to Painting Metal to see how long before you can do the second coat, which is the clear coat that acts as a protective agent that makes your car look shinier and is better at hiding scratches, pings, and dings.

Painting your own car may seem time-consuming, but it is a lot less expensive than taking it to a body shop, and if you do it properly, it will look just as good.